Total Pageviews

Showing posts with label scrapbooking ideas. Show all posts

Wednesday, 29 June 2011

Tools

 Here is the finished layout from last week along with it's corresponding page! There are close ups later in this post. This week I am going to highlight three of my favorite tools which I used in the above layouts and in today's layout. 


 I always like to see what other's can't craft without and so I thought I'd share my faves. Please leave me a comment and let me know what you could not craft without!

 Here is a pic of the layout from the video.


Here are close ups of last weeks layouts completed.

Since I will be away form home for the next month and a half, I am sad to say that there will be no new posts for that period of time. We are off to camp and then vacation with the family! It is going to be busy but awesome!


Have a great summer but don't forget about me :) I'll be back!

Sunday, 19 June 2011

Scrapbooking Scraps

Super early post this week!
Here is a fun way to use up scrap paper. 
It is so versatile because you can use any shape: heart, star, circle etc.
It is also great for cards as well as layouts.

Here is the simple procedure :)
A BIG sorry about the lighting on this.
But you get the idea :)

I did not have time to complete the layout but here is the beginnings.

And here is the card I forgot to show you.

And finally, here is a different shape.

Hope you find this tip useful.
Leave a comment and let me know :)

Monday, 23 May 2011

Paper Lollipop Flowers

Hope you had a super long weekend! We had a great time with company from Edmonton. I recorded these videos last week so I could get them up earlier :) I know way too many different flowers to make and so it is yet another flower.Yes, I already did a video on Lollipop flowers but this time they are paper and even easier to make!


And part two!


Next week will not be a flower I promise :)


Tuesday, 17 May 2011

Distressing

I love distressing photos and paper. Giving that edge a little finishing touch to make it stand out. Here are a few ways to do it. Take a look!


OK, so that was quick!
Here is a recap :)

Nail file
Works great on patterned paper and 
cardstock with a white core too!


Scissors
Gives the really distressed look!


Ink
Gives it that finished look.


Close Up

Tuesday, 10 May 2011

Fabric Flower


Do you remember me mentioning this flower?
I think I mentioned it in the ribbon flower tutorial.
Well, here is the tutorial for this flower :)

And Projects...


Tuesday, 12 April 2011

Glimmer Mister

Calling all splatter painters! I mean glimmer misters! I mean paper crafters :)
Well, gone are the days of spending almost $10 on glimmer mist! 

Check out my tutorial on making your own. Super simple and extra cheap!. Love it!

RECAP

Projects
This is a card made with a transparency.
I decided to cut the butterfly out like a little window to look through.
I used liquid glue which made my card buckle a little :(

It looks faded because of the lighting but in person it is better.
Isn't the splatter effect awesome!

Here are 2 other great example by a scrapbook artist I found at scrapbook.com

Monday, 28 March 2011

Transparencies

I bought a box of transparencies over a year ago and what a great purchase. I still have TONS left and I have gotten so much use out of them. Punching shapes or cutting them out. Stamping images with Stazon ink! You remember my butterflies :) Well, here is another way that I use transparencies on my layouts.


It is almost too simple to make a video for but I hope watching it gave you some inspiration at least! Maybe you are inspired enough to go out and buy some transparencies???. Here are the ones that I found on Ebay for about $10 US.

Here is the finished bubble page!

Here is a layout where I have used this technique to make a frame for a picture. You could frame journaling too, or any other important element on your page!


And here is one where I cut out clouds to use on my layout. 

Wednesday, 16 March 2011

Tissue???

Tissue paper is a fabulous and cheap product to have in your scrapcrafting supply! 
This weeks video is a tutorial on a tissue paper butterfly and flower :) 


Here are the final products!
You can of course make these smaller 
for your papercrafting needs.

This layout was inspired by a layout I saw at scrapbook.com.
Lately I have been doing some of the ideas from my 
inspiration journal and it has been rewarding for sure!

Last Weeks Ruffle
Here is a journaling idea I finally tried where 
I did my writing right on the chipboard letter in 
my title. Another idea I found at scrapbook.com.
You will notice the ruffle from last weeks video!
The arrow is supposed to point at the words "Treasure Map."
Oops!

TIP
For my Canadian friends! Look for buttons at Dollarama!
They can be very expensive at scrapbook stores but you can get a cute little package (enough to fill my spice jar at least) for $1 at the dollar store and they are all different sizes with a few unique ones hidden in there too.


Tuesday, 8 March 2011

Ruffles

Who needs to buy borders and punches when you can make ruffles!! Well, it is nice to mix it up a bit but the ruffles I'm about to show you are the cheapest way to go...and you know my love of inexpensive embellishments! Here are the three ways I do them. 
1. Paper


2. Ribbon


3. Streamers
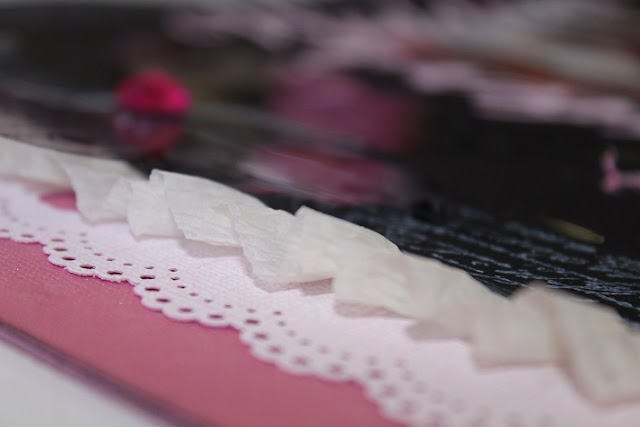
You can hardly see it here because is it white and layered 
with a paper border done with my border punch.

I love to use my sewing machine but if you don't have one a ruffle can still be achieved with fast drying glue or permanent glue runners. Here is a video showing exactly how they are each made!


Here are some of the pics I promised of my layout using the paper ruffle.


Have fun making RUFFLES!